* Pay in 3 equal payments – first when your order is confirmed, second 30 days later and third 60 days later. No interest, no fees.
Please note: Pay In 3 is only applicable to orders with a value of £1500 or less.
Choose Klarna in checkout to apply for a finance option. 10% deposit required as standard (excluding Pay In Three).
Borrowing more than you can afford or paying late may negatively impact your financial status and ability to obtain credit.
REPRESENTATIVE EXAMPLE
Cash/purchase price: £1200. Deposit: £120. Total amount of credit: £1080.
Rate of interest: 9.9% p.a. (fixed). Duration of the agreement: 24 months.
Monthly repayments: £49.58. Interest: £109.91. Total amount payable: £1309.91.
The Representative APR: 9.9% APR Representative.
Tiger Sheds is a trading name of Woodlands Home And Garden Group Limited (reg. address: Calverley Lane, Leeds, LS13 1NP)
which is authorised and regulated by the Financial Conduct Authority (FCA FRN 914564) and acts as a credit intermediary
and not a lender, offering credit products provided exclusively by Klarna Financial Services UK Limited. Please note
that Pay in 3 instalments agreements are not regulated by the FCA. Finance is only available to permanent UK residents
aged 18+, subject to status, T&Cs and late fees apply.
Klarna.com/uk/terms-and-conditions


 Tiger Spotlight | Victoria Justice, DIY & Home Interiors Blogger
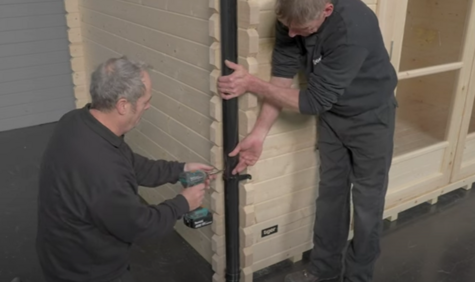 How to Fit Guttering on a Shed
 How to Store Garden Tools
 How to Keep your Shed Cool

 Ultimate Shed Accessories Guide
 The Story Behind Merseyside Sheds
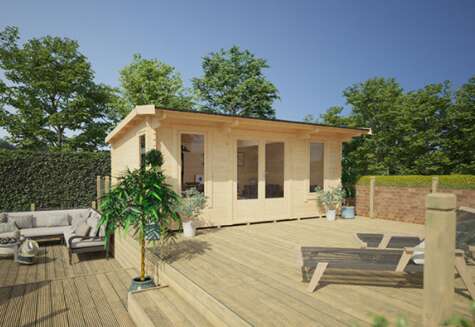
 How to Build a Garden Workshop
 Tiger Spotlight | Hayley Stuart, DIY & Interiors Blogger
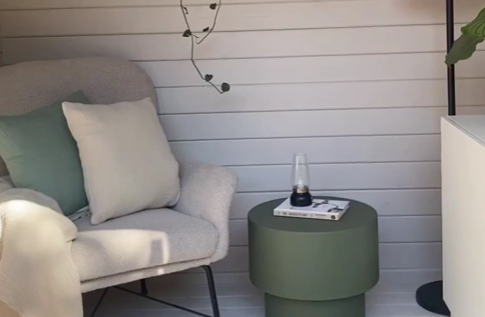 Top Garden Trends for 2024
 Meet the Tiger Team | Dave Hansell, Warehouse Senior Operative
 Ideas to Create the Ultimate Garden Workout Space
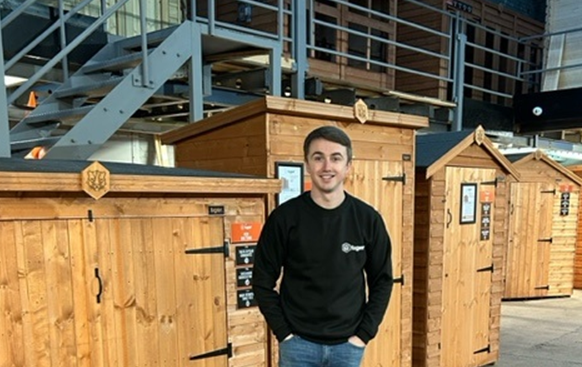 Meet the Tiger Team | Adam Deary, Showsite Manager
 Meet the Tiger Team | Paul Dixon, Driver
 How to Felt a Shed Roof
 Meet the Tiger Team | Eric, Brand Ambassador
 Meet the Tiger Team | Stephen Hogg, Product Designer
 Meet the Tiger Team | Agata Choma, Head of Operations
 Meet the Tiger Team | Katrina Johnson, Lead Designer
 A Great Idea Was Hatched from a Tiger
 Five Garden Updates that can Devalue a Home