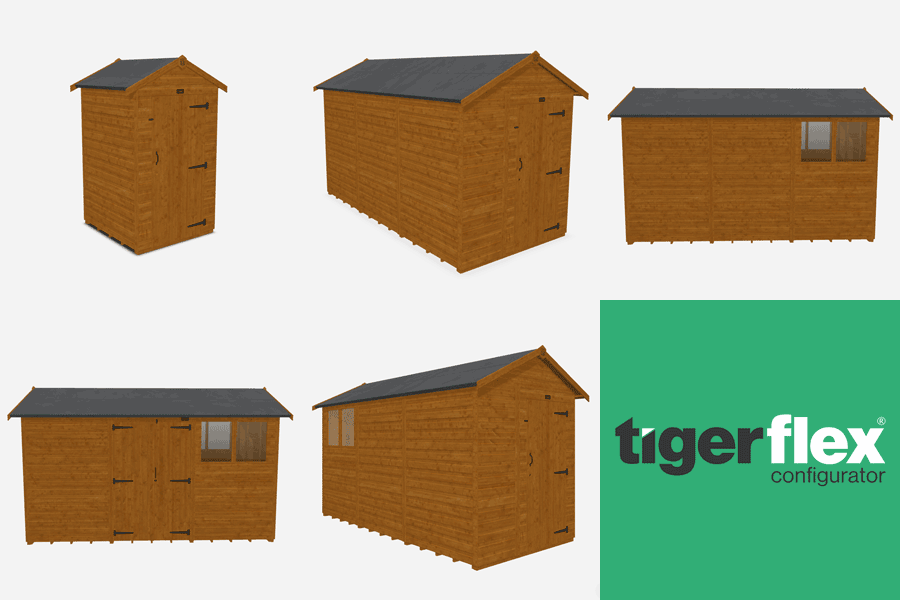
One question we are frequently asked is - 'how difficult is it to build one of your sheds?' Simply put - it isn't hard to do. In this guide, you will learn how easy it is to build a Tiger Shed.
Is it difficult to build a Shed?
Believe it or not, you don’t need to be a professional to build a Garden Shed! With some assistance, Shed assembly is a DIY task that is easier than you may think.
Below is a simple guide on how to build a traditional Apex Garden Shed.
Your Tiger Shed will come with full assembly instructions. These instructions are a simple step-by-step guide to Shed assembly. Remember – your Shed might have more than four side walls to it so assembly would be a little different in this case!
What do I need to build a Shed?
Before even considering assembly of a Garden Shed, there are three things you need to do:
- Check your base
- Check your components
- Check you have the tools required and at least one other person to assist
You need to have a firm and level base prepared to build your Shed on. This must be made using a suitably durable material such as concrete or paving slabs. If you’re unsure how to do this or would like some guidance to ensure your base is correct, please view our ‘Build a Base Guide’.

It is vital that you also check you have all of your components in order to complete the assembly. With the delivery of your Shed, you will receive a component list which will allow you to check off the parts received against the parts you should have. Generally, each Garden Shed will comprise of panels for the four walls, floor, and roof, felt, and fixings.

Top Tip: Taking the time to check through your components before assembly will aid a swift and efficient build process.
The final preparation you need to make for assembly of your Garden Shed is ensuring that you have all the tools you are going to need. For assembly of Tiger Sheds, you will need the following:
- Hammer
- Monkey Wrench or Adjustable Spanner
- Step Ladder
- Spirit Level
- Tape Measure
- Safety Gloves or appropriate PPE
Top Tip: For safety, we would advise that Shed assembly is always carried out by a minimum of two people – one person to hold the components in place and a second to nail or bolt into position.
If you have checked and prepared everything required to build, you’re ready to assemble the Shed.
Step One – Position the Floor Panel

Lay the floor panel(s) down in the desired position and check that the floor is level. If the floor is not level, you may need to pack under the bearers with some blocks to level out the base. At this stage, you may wish to check that the floor is square by measuring diagonally across the floor from corner to corner. Each diagonal measurement should be the same.
Top Tip: If your floor is not square, you can measure the panels to check that they match up to the corresponding side of the floor. If they do, it may be that the panel has simply been knocked out of alignment during transit. You can resolve this by tapping the floor at the corners to straighten it out again.
Step Two – Position and Secure Gables and Sides
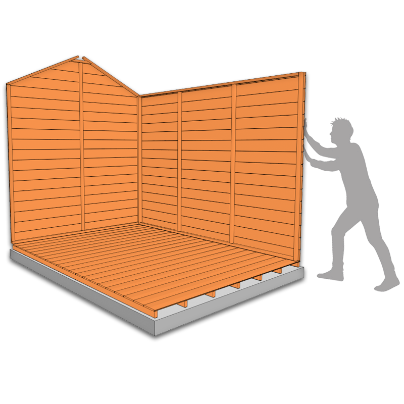
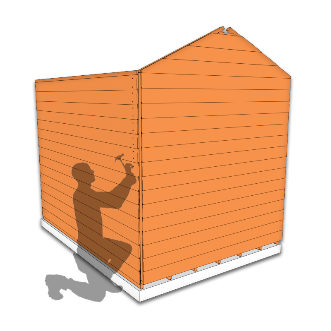
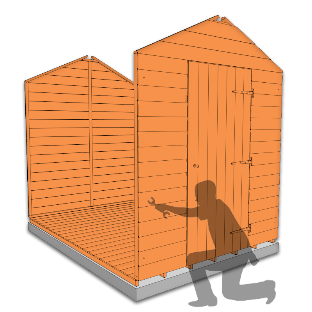

First of all, position one gable end panel on to one end of the floor panel.
Next, offer-up a side wall panel and secure this to the gable by using the 38mm nails. You should nail through the side into the gables internally. Using the coach screws provided, secure the gable panel to the side panel, through the pre-drilled holes in the gable from the outside.
Now, you need to place the second gable panel in position and secure this to the side panel you have just put in place. Again, use the 38mm nails and coach screws provided.
Finally, position your final side wall panel and secure with the nails and coach screws as before.
When all of your wall panels are in place and you are satisfied that they are sitting square, secure them to the floor using the 65mm nails provided. You will need to nail through the side and gable panel base rails, through the floor boards and into the floor joists/bearers below.

Top Tip: There are lines of nails across the floor panel where the floor boards have been secured to the bearers. These can be used as a guide to ensure that you secure the base rails at the correct points to penetrate the bearers below.
Step Three – Position and Secure the Roof Panels
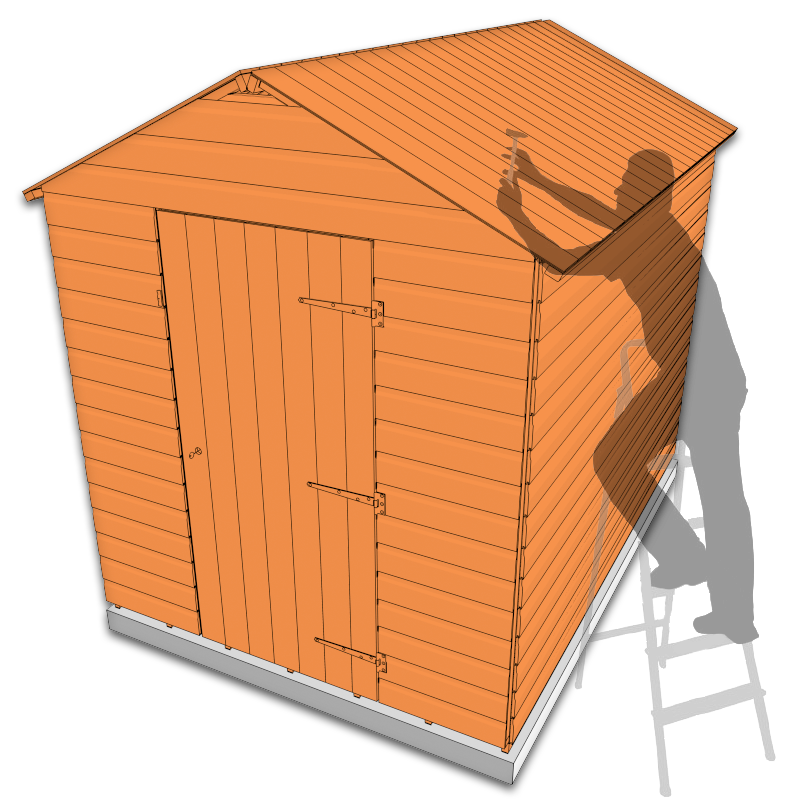
Place the roof panels in position and secure these internally to each other with the 65mm nails provided. You may need to pull the two panels together at the apex before you can nail them to each other.
Next nail the roof to the gables and side frame with the 38mm and 65mm nails provided.
Top Tip: If at any point the roof panels do not align correctly or the door does not open/close properly, this may suggest that the building is not sitting square on your base and has become twisted. To resolve, one or more corners of the building may need lifting slightly to straighten it out. Once square, you can secure the roof panels. If you are having trouble with this and need extra advice, please refer to our Online Help Guide.
Step Four – Felt the Roof

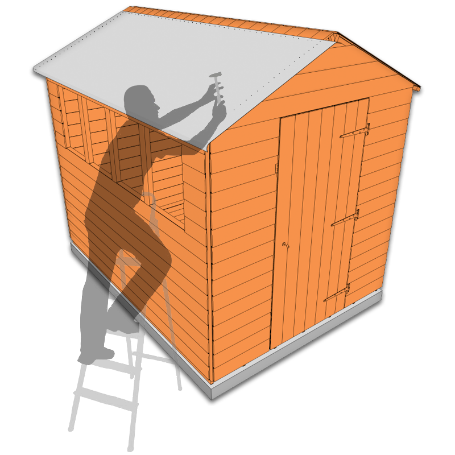
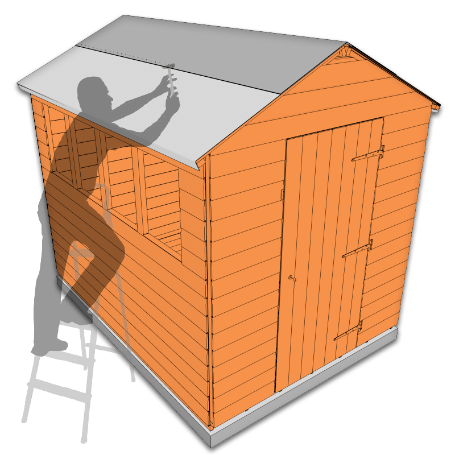
Before starting, please be aware that certain sizes of building may need the felt cutting into two or more pieces. Please consult the felt guide you will receive with your building for more information.
After checking the number of lengths of felt required, cut the felt received if necessary and roll out along the lower part of one side of the roof. Allow sufficient overhang to fold down onto the roof framing (but not the underside of the roof). Use the clout nails provided to tack along the top edge of felt. Repeat this process on the other side of the roof.
Depending on the size of building, you may need to repeat this process along the upper sections of the roof, overlapping the felt at the apex. Not all buildings require a ridge piece so it is best to check the felt guide if you are unsure.
Top Tip: Don’t set your felt too low when positioning the first strip as you will find that you won’t have enough to cover the roof. You will only need an overlap of around 3 inches and will then have enough to cover with the felt supplied.
Step Five – Fit Bargeboards and Finials
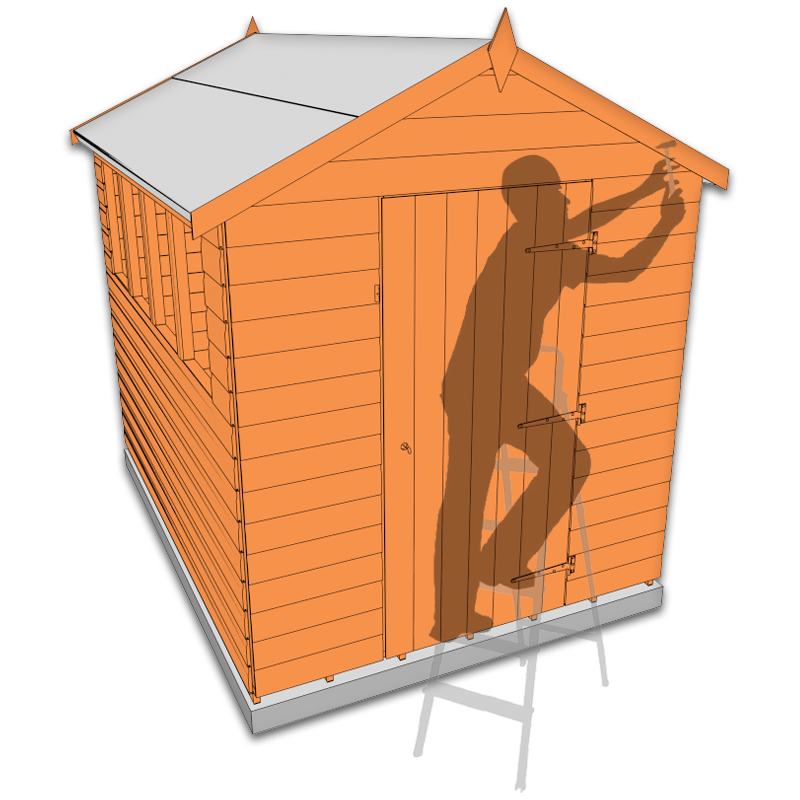
Secure the Bargeboards to the Roof Panels, trapping the overhanging end of the felt in-between to provide a weather seal. When you are happy with the position of the Bargeboards, secure the diamond-shaped Finials to the Bargeboards at the Apex.
Top Tip: The Bargeboards are generally slightly longer than the roof panels. However, you can cut them down to be flush with the edges of the roof if you would prefer. To do so, hold the boards up against the gable ends and cut before securing them into place.
Step Six – Fit and Seal the Glazing
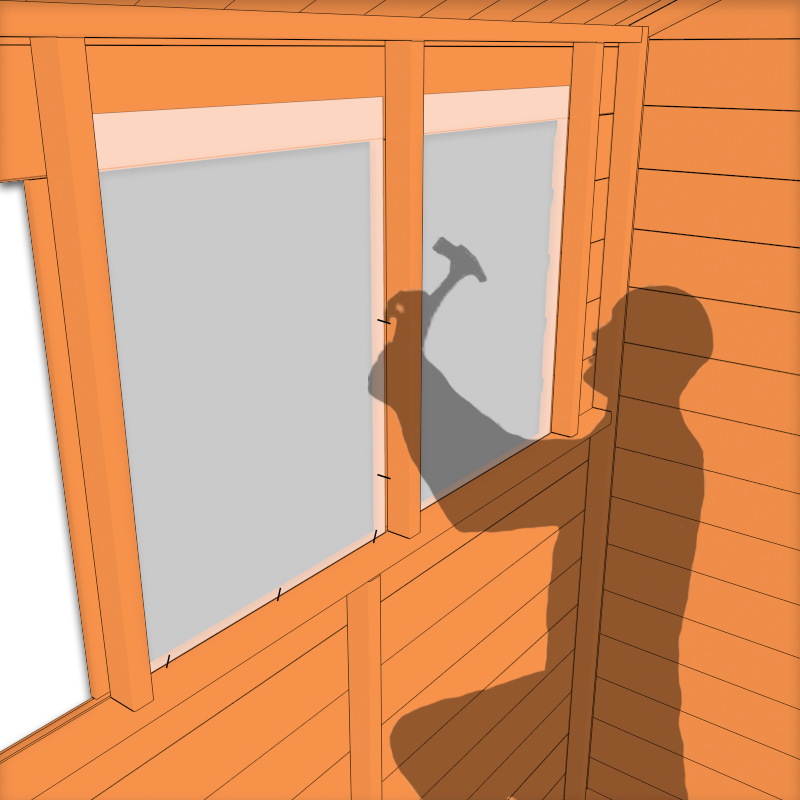
Slot the Glass or Styrene into position and secure using the panel pins provided. You will need to gently tap the pins into the window-frame to avoid scratching the windows.
If you have the Styrene windows for your building, you will need to remove the protective film from the panes.
You will need to seal the windows after the panes have been fitted to ensure they are weatherproof. To do so, use a suitable sealant product such as silicone, mastic, putty, etc. and your choice of beading to reinforce the panes if preferred.
Top Tip: To prevent scratches on the glazing while hammering in the pins, you should leave the protective plastic on the panes until fitted. You may also wish to use a piece of thin cardboard or similar to stop the hammer coming into direct contact with the panes.
Step Seven – Fit the Corner Strips
To finish assembly, use the 38mm nails provided to secure the corner strips to the exterior corners of the Shed where the panels meet. These may need cutting to fit.
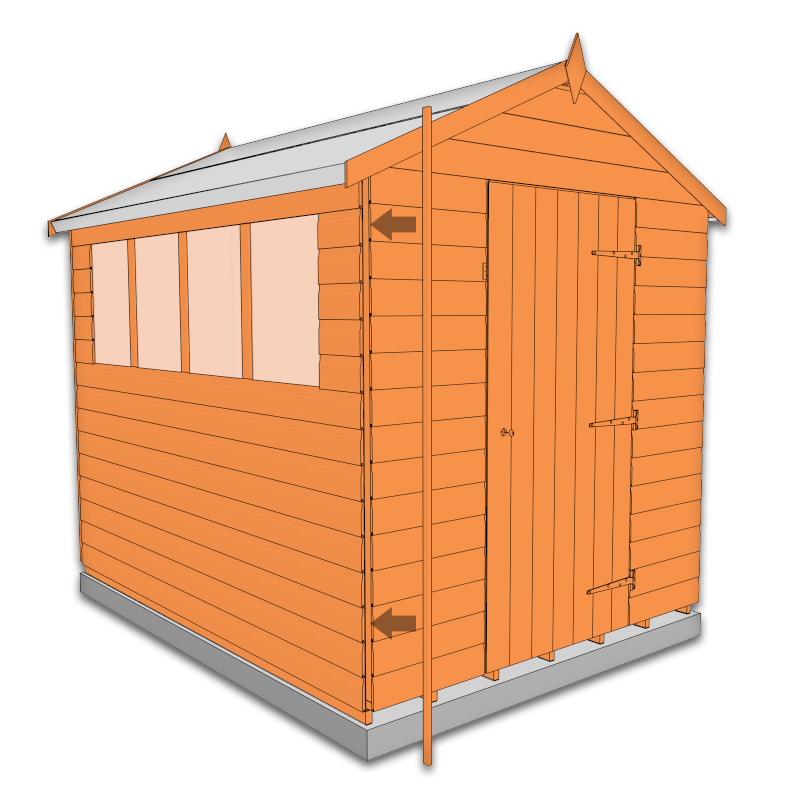
Now all that’s left is to treat your Garden Shed with a suitable waterproofing preservative inside and out.
Don’t forget to share your completed building with us! #yourtigershed


