


How to Waterproof a Shed
Published: 16/09/2021
Learning how to waterproof a shed properly is one of the smartest things you can do for any wooden garden building. Whether your shed stores tools, garden furniture, or doubles as a summer house, a log cabin, or a workshop, knowing the tricks to create a waterproof shed keeps it looking good, working well, and lasting longer, even in the unpredictable UK weather.
Why Waterproofing Your Shed Is Important
Water has a habit of sneaking in where you least expect it. Without proper protection, moisture can cause serious issues:
- Rotting timber weakens the structure
- Mould and mildew bring musty smells and health irritations
- Warping and cracking affects doors, windows, and panels
- Rusting tools inside
With British weather in mind, waterproofing a shed ensures longevity, reduces maintenance, and keeps repair costs down. Whether it’s a small garden shed, a stylish summer house, or a cosy log cabin, moisture protection is key.
Shed Preparation & Inspection
Before starting, preparation is essential. Think of it as giving your shed a quick MOT. Inspect:
- Walls – gaps, cracks, or soft patches
- Roof – lifting felt or damaged shingles

- Floor – signs of damp underneath
- Doors & windows – check frames and sills for gaps or rot
- Surroundings – puddles, blocked drainage, overgrown vegetation
Identifying problem areas first ensures that your waterproofing efforts will be effective.
Waterproof Tools & Materials
Here’s what you’ll need to create a fully waterproof shed:
- Wood preserver – protects timber from rot and moisture
- Water-based wood paint – adds an extra barrier and a splash of colour
- Brushes or rollers – for smooth application
- Waterproof sealant – fills gaps and cracks

- Roof felt – shields your roof from rain
- Damp-proof membrane – prevents rising damp at the base
- Guttering – diverts water away from walls and foundations
- Caulk or filler – ideal for doors, windows, and joints
Step-by-Step Waterproofing Guide
Follow this guide from the ground up to create a shed that laughs in the face of rain.
Step 1: Protect the Base and Foundation
A shed on bare soil is a damp disaster waiting to happen. A proper base is essential:
- Concrete or plastic bases provide stability and reduce rising damp

- Damp-proof membranes prevent water from creeping up into the shed floor

A solid foundation is the first step to a truly waterproof shed.
Step 2: Treating the Building
Wood needs love (and preserver):
- Apply wood preserver or waterproof shed paint to all timber surfaces
- Target joints, corners, and cut edges
- Untreated timber: treat annually
- Pressure-treated timber: inspect regularly

Seal any cracks or gaps between boards with waterproof sealant to stop wind-driven rain from sneaking in.
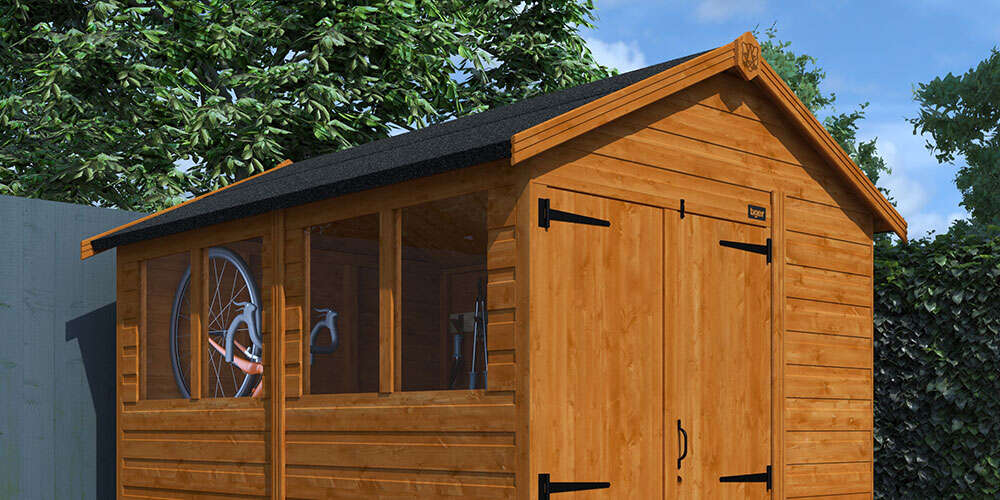
Step 3: Door & Window Seals
Doors and windows are the easiest entry points for moisture:
- Check frames and sills for cracks or soft wood
- Use caulk, silicone, weatherstripping, or expanding foam to seal gaps
- Repair any rotten areas with filler, sand, and re-treat
Watch our step-by-step video to learn how to easily seal your shed windows like a pro. Follow along for simple instructions.
A little attention here saves a lot of damp headaches inside.
Step 4: Roof Options
Your roof bears the brunt of the weather, so look after it:
- Clear leaves, moss, and debris
- Install or repair roof felt
- Seal edges and ridge lines
- Inspect annually
If felt is damaged, replace or patch immediately with waterproof sealant.
Step 5: Rainwater Management & Gutters
Guttering isn’t glamorous but it’s essential:
- Keeps water away from walls and base
- Prevents puddles forming around the shed
- Clean regularly to avoid blockages
- Consider gravel or drainage channels if ground stays wet

Watch our step-by-step video to see how easy it is to install log cabin guttering. Our guide makes the process straightforward, helping you get the job done quickly and effortlessly!
Step 6: Ventilation & Condensation Control
A sealed shed isn’t automatically dry:
- Install wall vents to allow airflow if required
- Reduces condensation and keeps timber happy
- Pair with insulation for year-round comfort if using your shed as a workspace

Tiger’s Recommended Products & Resources
Tiger Sheds offers products to make waterproofing a shed easier:
- Tiger Wood Preserver – protects timber and enhances the natural grain
- Mineral roofing felt – long-lasting, weather-resistant roof protection
- Sealants and fillers – for doors, windows, and joins
- Insulation solutions – help reduce condensation and maintain temperature
Want a cosy, energy-efficient shed? Watch our video to see how to install foil insulation, step by step. It’s easier than you think.
Find your perfect garden building ready for waterproofing:
- Garden sheds – https://www.tigersheds.com/garden-sheds/

- Summer houses – https://www.tigersheds.com/summer-houses/

- Log cabins – https://www.tigersheds.com/log-cabins/

Final Tips & Seasonal Checklist
Waterproofing isn’t a one-time job. Stay on top of it with a few simple habits:
- Spring – clean, inspect, and re-treat timber if needed
- Autumn – clear gutters, check felt, trim vegetation
- After storms – inspect roof, walls, and doors
- Annually – refresh preservative on untreated wood
Follow these steps and your shed will stay dry, solid, and ready to face even the wettest UK weather.


